I learned more about getting focus with my camera and used that knowledge to get these photos.


tmux list-keys which shows you existing short cuts to make my own to store in ~/.tmux.conf. To overwrite the default shortcuts:
set-option -s set-clipboard off
bind P paste-buffer
bind-key    -T copy-mode    C-w                  send-keys -X copy-pipe-and-cancel               wl-copy
bind-key    -T copy-mode    C-k                  send-keys -X copy-pipe-end-of-line-and-cancel   wl-copy
You can replace the wl-copy command with xsel or xclip if you want to use it with X11, you can even make a custom command to copy over ssh.
With this, you can ctl-b [ to enter copy mode, and use keyboard/mouse to move the cursor. Once the cursor is at the starting point, you can use ctl-space to start selection or ctl-k to copy to end of line. If you get a selection, use ctl-w to copy. The P bind is for pasting the buffer using ctl-b P.
I hope this helps someone.
]]>$ sudo nvidia-smi
NVIDIA-SMI has failed because it couldn't communicate with the NVIDIA driver. Make sure that the latest NVIDIA driver is installed and running.$ akmodsbuild /usr/src/akmods/nvidia-kmod.latest
* Rebuilding /usr/src/akmods/nvidia-kmod.latest for kernel(s) 6.0.14-200.fc36.x86_64: prep build install clean; Successfull; Saved kmod-nvidia-6.0.14-200.fc36.x86_64-525.60.11-1.fc36.x86_64.rpm in /home/grmrgecko/$ sudo dnf reinstall kmod-nvidia-6.0.14-200.fc36.x86_64-525.60.11-1.fc36.x86_64.rpm
Last metadata expiration check: 1:17:09 ago on Sat 24 Dec 2022 07:36:36 PM CST.
Dependencies resolved.
========================================================================================================================================================================================================
Package Architecture Version Repository Size
========================================================================================================================================================================================================
Reinstalling:
kmod-nvidia-6.0.14-200.fc36.x86_64 x86_64 3:525.60.11-1.fc36 @commandline 42 M
Transaction Summary
========================================================================================================================================================================================================
Total size: 42 M
Installed size: 42 M
Is this ok [y/N]: y
Downloading Packages:
Running transaction check
Transaction check succeeded.
Running transaction test
Transaction test succeeded.
Running transaction
Preparing : 1/1
Reinstalling : kmod-nvidia-6.0.14-200.fc36.x86_64-3:525.60.11-1.fc36.x86_64 1/2
Running scriptlet: kmod-nvidia-6.0.14-200.fc36.x86_64-3:525.60.11-1.fc36.x86_64 1/2
Cleanup : kmod-nvidia-6.0.14-200.fc36.x86_64-3:525.60.11-1.fc36.x86_64 2/2
Running scriptlet: kmod-nvidia-6.0.14-200.fc36.x86_64-3:525.60.11-1.fc36.x86_64 2/2
Verifying : kmod-nvidia-6.0.14-200.fc36.x86_64-3:525.60.11-1.fc36.x86_64 1/2
Verifying : kmod-nvidia-6.0.14-200.fc36.x86_64-3:525.60.11-1.fc36.x86_64 2/2
Reinstalled:
kmod-nvidia-6.0.14-200.fc36.x86_64-3:525.60.11-1.fc36.x86_64
Complete!That is it, once you reboot, it should be using the Nvidia drivers as you can confirm with nvidia-smi.
If you encounter the error below:
gcc: error: unrecognized command-line option '-ftrivial-auto-var-init=zero'Check the GCC version and source, and if its version 11 or older, it may be from a package:
$ gcc --version
gcc (GCC) 11.3.0
Copyright (C) 2021 Free Software Foundation, Inc.
This is free software; see the source for copying conditions.  There is NO
warranty; not even for MERCHANTABILITY or FITNESS FOR A PARTICULAR PURPOSE.

$ which gcc
/usr/lib64/ccache/gcc
In my case, it looks like it is from the ccache package, so just running sudo dnf remove ccache will fix the problem.
global
  chroot  /var/lib/haproxy
  daemon
  group  haproxy
  log  /dev/log local0 info
  maxconn  200000
  pidfile  /var/run/haproxy.pid
  ssl-default-bind-ciphers  ECDH+AESGCM:DH+AESGCM:ECDH+AES256:DH+AES256:ECDH+AES128:DH+AES:ECDH+3DES:DH+3DES:RSA+AESGCM:RSA+AES:RSA+3DES:!aNULL:!MD5:!DSS
  ssl-default-bind-options  no-sslv3 no-tls-tickets
  stats  socket /var/lib/haproxy/stats mode 600 level admin
  tune.ssl.default-dh-param  4096
  user  haproxy

defaults
  maxconn  200000
  option  redispatch
  timeout  http-request 10s
  timeout  queue 1m
  timeout  connect 10s
  timeout  client 1m
  timeout  server 1m
  timeout  check 10s

frontend http_connections
  bind :80
  mode http
  default_backend http_backends
  option tcplog

backend http_backends
  mode http
  balance roundrobin
  option forwardfor
  server server1 ipa1.example.com:80 check
  server server2 ipa2.example.com:80 check

frontend https_connections
  bind :443 ssl crt /etc/ssl/certs/http.pem
  mode http
  default_backend https_backends
  option tcplog

backend https_backends
  mode http
  balance roundrobin
  option forwardfor
  server server1 ipa1.example.com:443 check ssl verify none
  server server2 ipa2.example.com:443 check ssl verify none

frontend ldap_connections
  bind :389
  mode tcp
  default_backend ldap_backends
  option tcplog

backend ldap_backends
  mode tcp
  balance roundrobin
  option ldap-check
  server server1 ipa1.example.com:389 check
  server server2 ipa2.example.com:389 check

frontend ldaps_connections
  bind :636 ssl crt /etc/ssl/certs/ldap.pem
  mode tcp
  default_backend ldaps_backends
  option tcplog

backend ldaps_backends
  mode tcp
  balance roundrobin
  option tcp-check
  server server1 ipa1.example.com:636 check ssl verify none
  server server2 ipa2.example.com:636 check ssl verify none

frontend krb_connections
  bind :88
  mode tcp
  default_backend krb_backends
  option tcplog

backend krb_backends
  mode tcp
  balance roundrobin
  option tcp-check
  server server1 ipa1.example.com:88 check
  server server2 ipa2.example.com:88 check

frontend krb_passwd_connections
  bind :464
  mode tcp
  default_backend krb_passwd_backends
  option tcplog

backend krb_passwd_backends
  mode tcp
  balance roundrobin
  option tcp-check
  server server1 ipa1.example.com:464 check
server server2 ipa2.example.com:464 checkThe load balanacer needs to have a host entry in FreeIPA, you can either enroll the load balancer to FreeIPA as a client or you can use the following to add a host entry for it without enrolling the server.
ipa host-add lb.example.com --random --forceOnce you have the host in the system, you need to setup the ldap and http service kerberos key so that systems can authenticate against the load balancer's domain.
ipa service-add ldap/lb.example.com
ipa service-add HTTP/lb.example.com
Allow your administrator user to pull the kerberos key for the ldap and http service created.
ipa service-allow-retrieve-keytab ldap/lb.example.com --users=admin
ipa service-allow-retrieve-keytab HTTP/lb.example.com --users=admin
For a later step where we create SAN certificates for LDAP on each master and replica of FreeIPA, we need to allow each master and replica access to the ldap service.
ipa service-add-host ldap/lb.example.com --host=ipa1.example.com
ipa service-add-host ldap/lb.example.com --host=ipa2.example.comNow that you have the service prepared in FreeIPA, we need to add the key for the load balancer domain to the directory server's key tab. Examples online tell you to use the --retrieve argument, however with the fact we just added the service above, the service has not been provisioned with a key yet. So we at least need to pull the key once without the retrieve argument so that the key would be created by...
First, you need to make your CSR config file for OpenSSL. You can use the example below, and setup extensions per puppet's documentation.
[ req ]
default_bits       = 4096
policy             = policy_match
distinguished_name = req_distinguished_name
req_extensions     = v3_req
prompt             = no
attributes         = req_attributes

[ policy_match ]
countryName             = optional
stateOrProvinceName     = optional
organizationName        = optional
organizationalUnitName  = optional
commonName              = supplied
emailAddress            = optional

[ req_distinguished_name ]
commonName = 0842e974-ca99-43b5-94b5-251b1fd33f62

[ v3_req ]
nsComment               = "Puppet Server Internal Certificate"
1.3.6.1.4.1.34380.1.1.1 = ASN1:UTF8String:0842e974-ca99-43b5-94b5-251b1fd33f62
1.3.6.1.4.1.34380.1.1.7 = ASN1:UTF8String:project
basicConstraints        = critical,CA:false
extendedKeyUsage        = serverAuth, clientAuth
keyUsage                = digitalSignature, keyEncipherment

[ req_attributes ]
challengePassword = "ASuperSecretPassword"openssl genrsa -out puppet.key 4096
openssl req -config openssl-csr.conf -new -key puppet.key -out puppet.csrcat puppet.csr | /etc/puppetlabs/code/environments/production/scripts/autosign.rb; echo $?openssl x509 -extfile v3.ext -req -days 15 -in puppet.csr -CA /etc/puppetlabs/puppet/ssl/ca/ca_crt.pem -CAkey /etc/puppetlabs/puppet/ssl/ca/ca_key.pem -CAcreateserial -out puppet.crt -sha256The first step is to install the community edition of Docker as that is what nvidia-docker2 works with. Luckily Docker does have official support for Fedora, so it is simply running the following to get docker-ce installed.
sudo tee /etc/yum.repos.d/docker-ce.repo <<EOF
[docker-ce-stable]
name=Docker CE Stable - \$basearch
baseurl=https://download.docker.com/linux/fedora/36/\$basearch/stable
enabled=1
gpgcheck=1
gpgkey=https://download.docker.com/linux/fedora/gpg
EOF
dnf makecache
dnf install -y docker-ceNow that you have docker-ce installed, the final step is to install the nvidia-docker2 package from Nvidia's RHEL 9 repository.
DIST="rhel9.0"
curl -s -L https://nvidia.github.io/libnvidia-container/$DIST/libnvidia-container.repo | \
  sudo tee /etc/yum.repos.d/libnvidia-container.repo
dnf makecache
dnf install -y nvidia-docker2
systemctl restart dockerNow that it is installed, we can test it with the following.
docker run --rm --gpus all nvidia/cuda:11.7.1-runtime-ubuntu22.04 nvidia-smiRemove nvidia/cuda with the following.
docker rmi nvidia/cuda:11.7.1-runtime-ubuntu22.04I'm not going to get into complete details here on how to do this, as there are many guides on the internet for doing this. I am, however, going to provide a link to the Arch Wiki with the standard steps for the network tools of your choice, I personally am using Network Manager mainly because it works for me. When researching implementing this configuration, I seem to find a lot of old documentation for CentOS 6/Debian 7 which is not up to date with today's standards. The Arch Wiki article is reputable and also up to date in this case.
This was the main problem I ran into when setting up a bridge network, older articles by Red Hat has lead me to the solution which I will provide both how to solve in iptables, and firewalld.
iptables -I FORWARD -m physdev --physdev-is-bridged -j ACCEPTfirewall-cmd --permanent --direct --passthrough ipv4 -I FORWARD -m physdev --physdev-is-bridged -j ACCEPT
firewall-cmd --reloadIn reviewing implementation of bridging, there always seem to be one change everyone makes to improve performance of bridged networks. And that is to disable the network filter. Doing so is fairly simple, adjust the files below.
net.bridge.bridge-nf-call-ip6tables=0
net.bridge.bridge-nf-call-iptables=0
net.bridge.bridge-nf-call-arptables=0ACTION=="add", SUBSYSTEM=="module", KERNEL=="bridge", RUN+="/sbin/sysctl -p /etc/sysctl.d/bridge.conf"You can then run sysctl -p /etc/sysctl.d/bridge.conf manually to load the system configurations.
Now that the bridged network is setup, you can setup the network configuration for your virtual machines. There are two ways to do this, you can setup a shared device name in virt-manager, or you can configure via xml like so:
<interface type="bridge">
  <source bridge="br0"/>
  <mac address="52:00:00:00:00:00"/>
</interface>
Or, you can setup a network in libvirtd as follows to make it an easy selection.
cat > /tmp/br0.xml <<XML
<network>
  <name>br0</name>
  <forward mode="bridge"/>
  <bridge name="br0" />
</network>
XML
virsh net-define /tmp/br0.xml
virsh net-start br0
virsh net-autostart br0
virsh net-list --all
Start your Virtual Machine and you should be good to go!
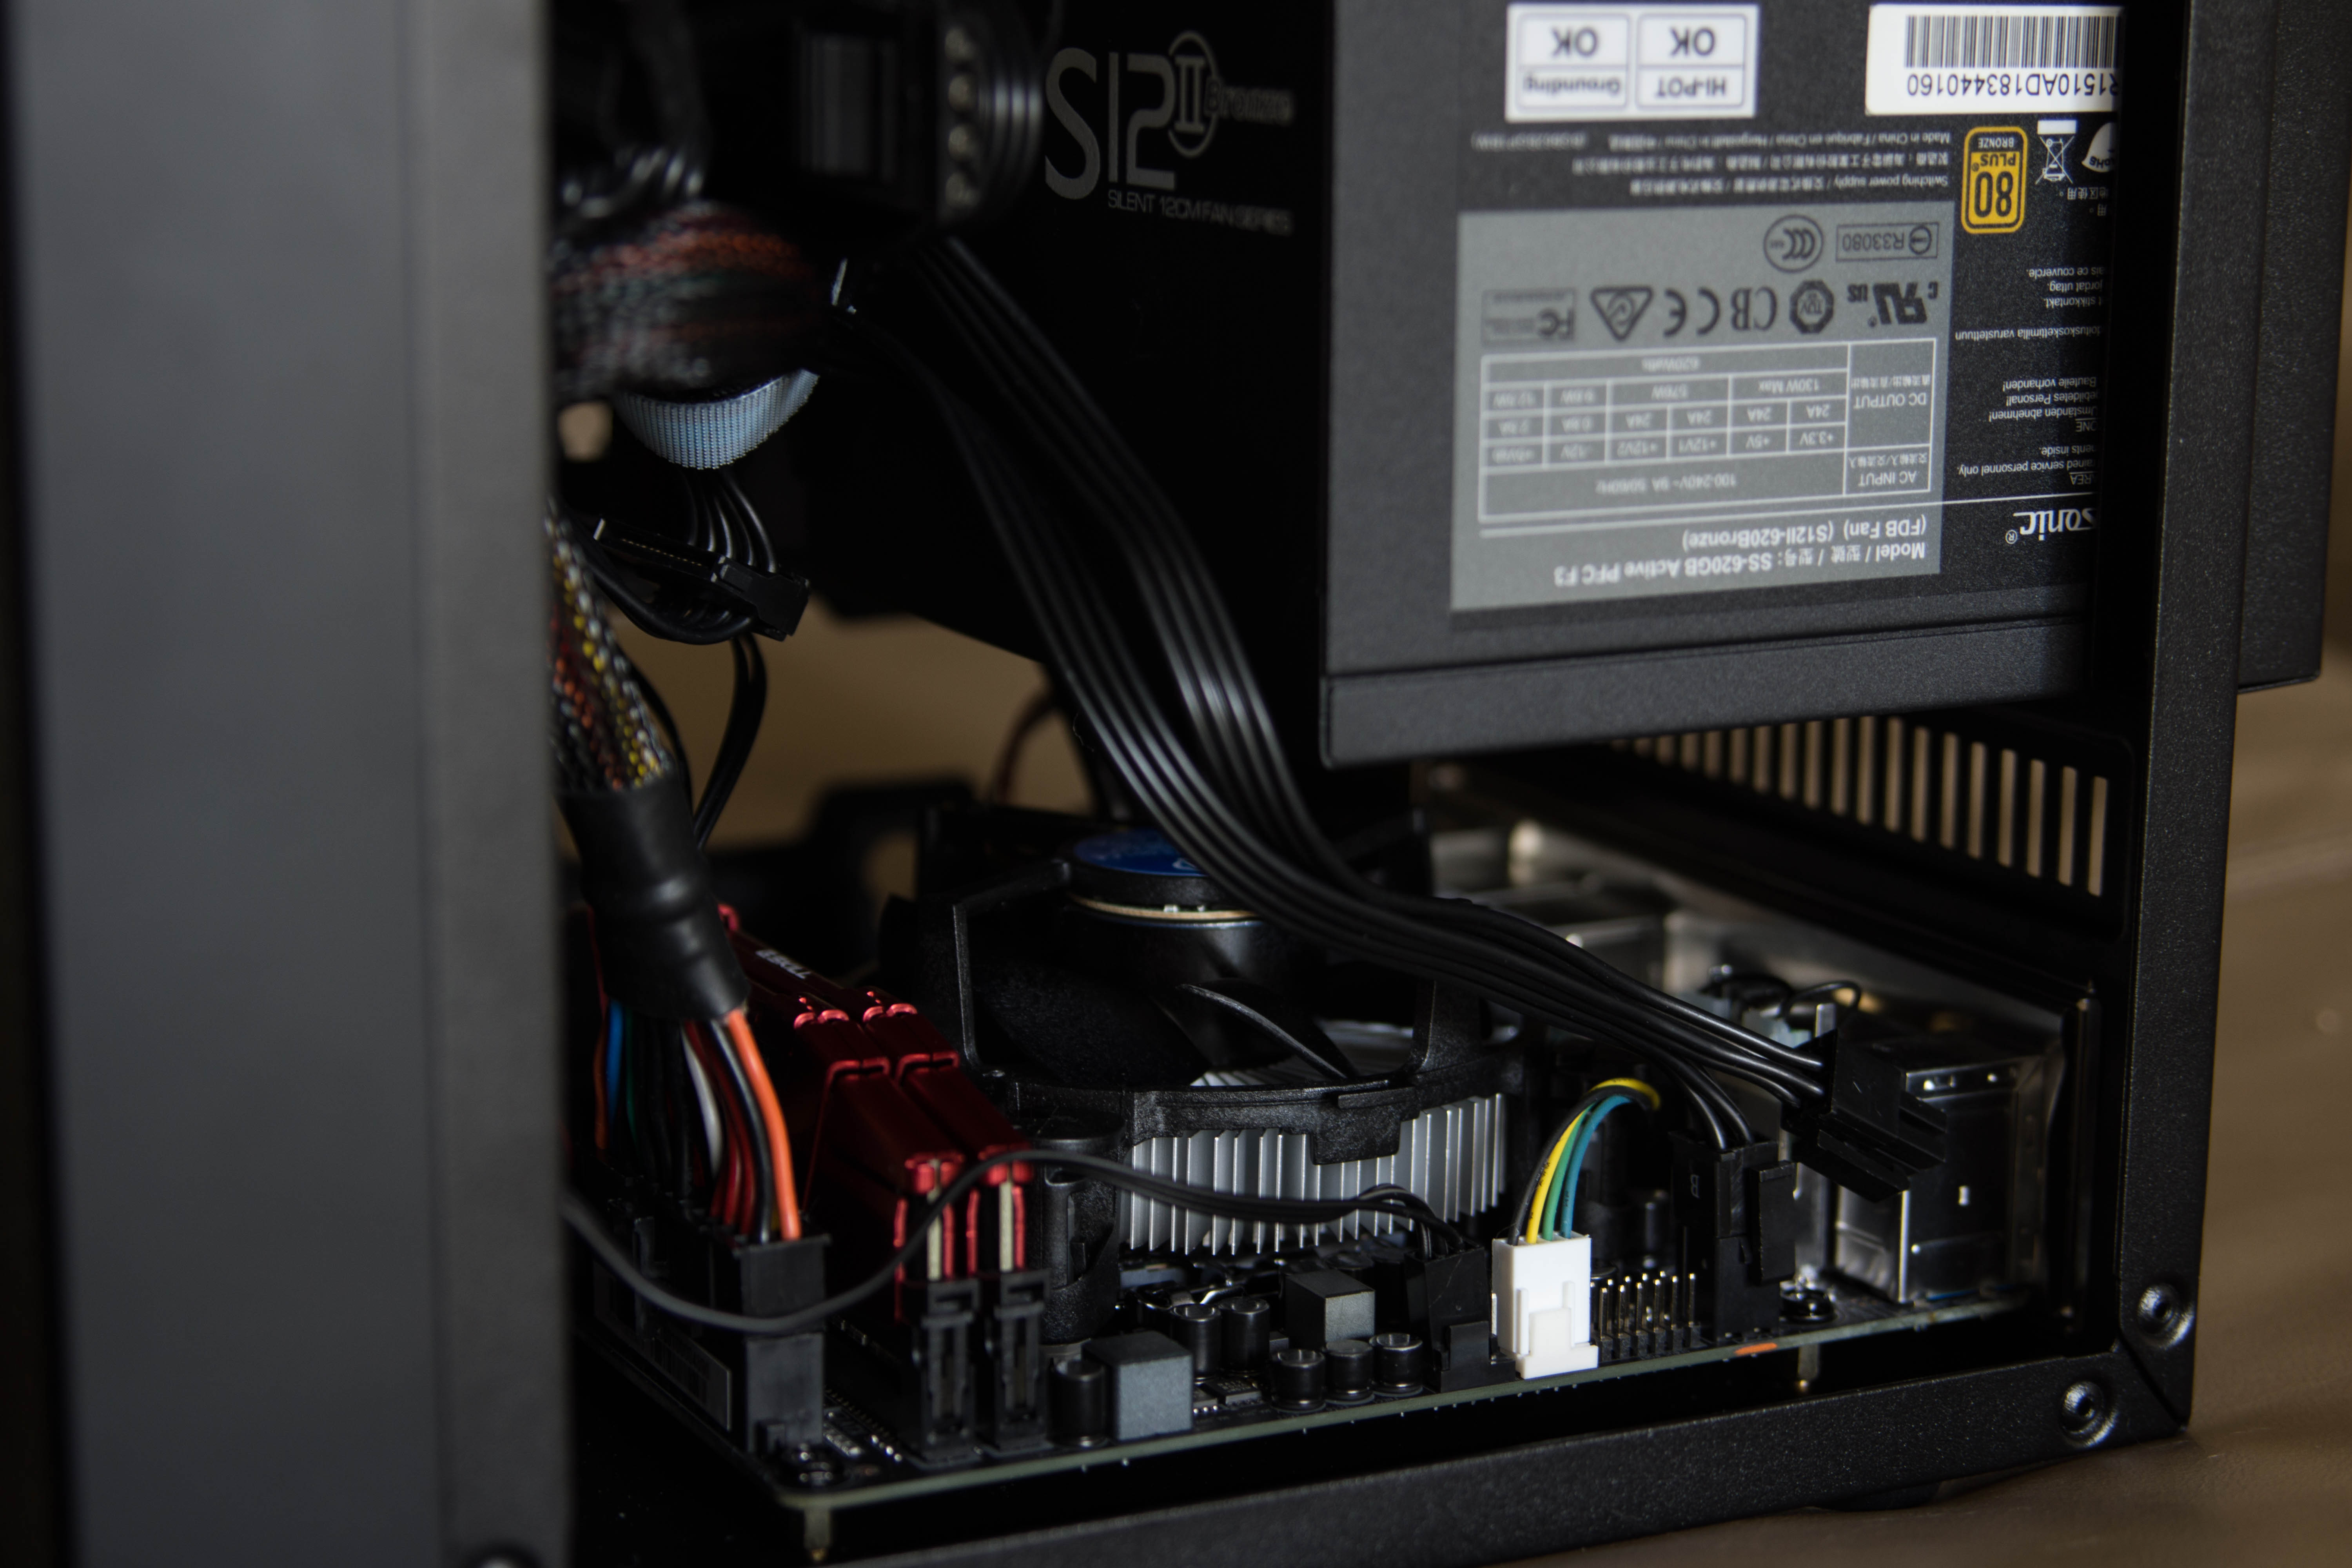
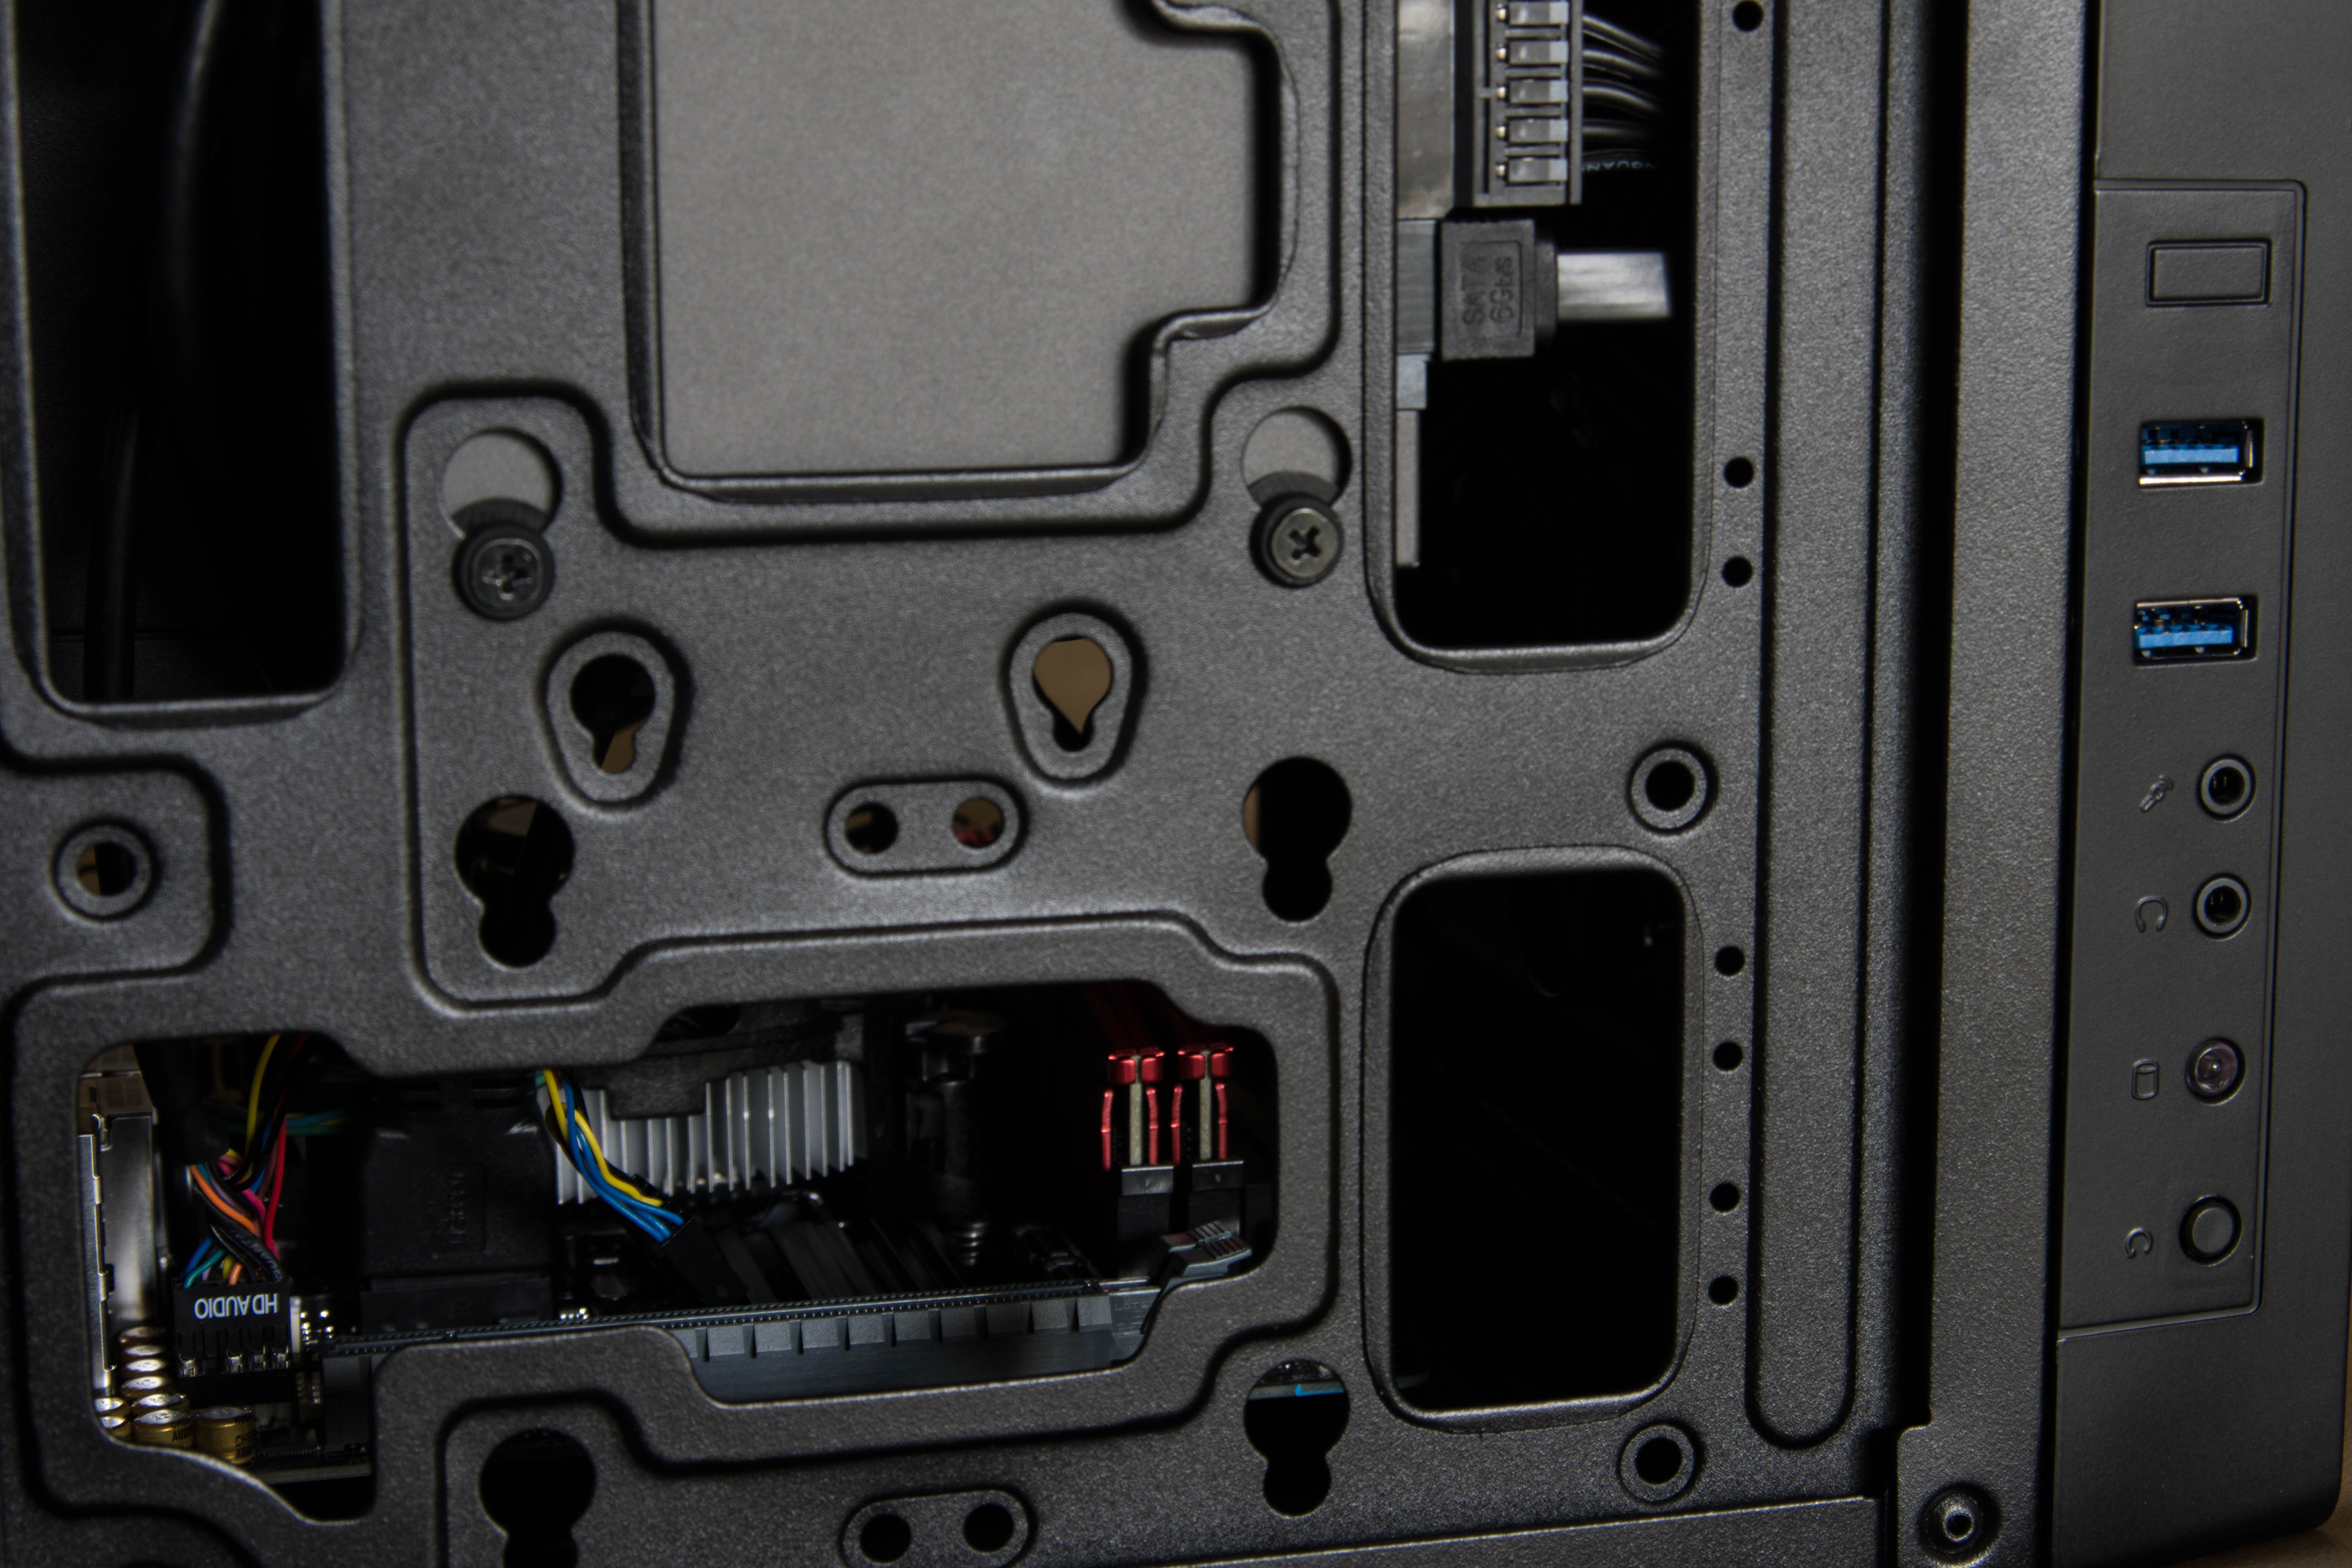
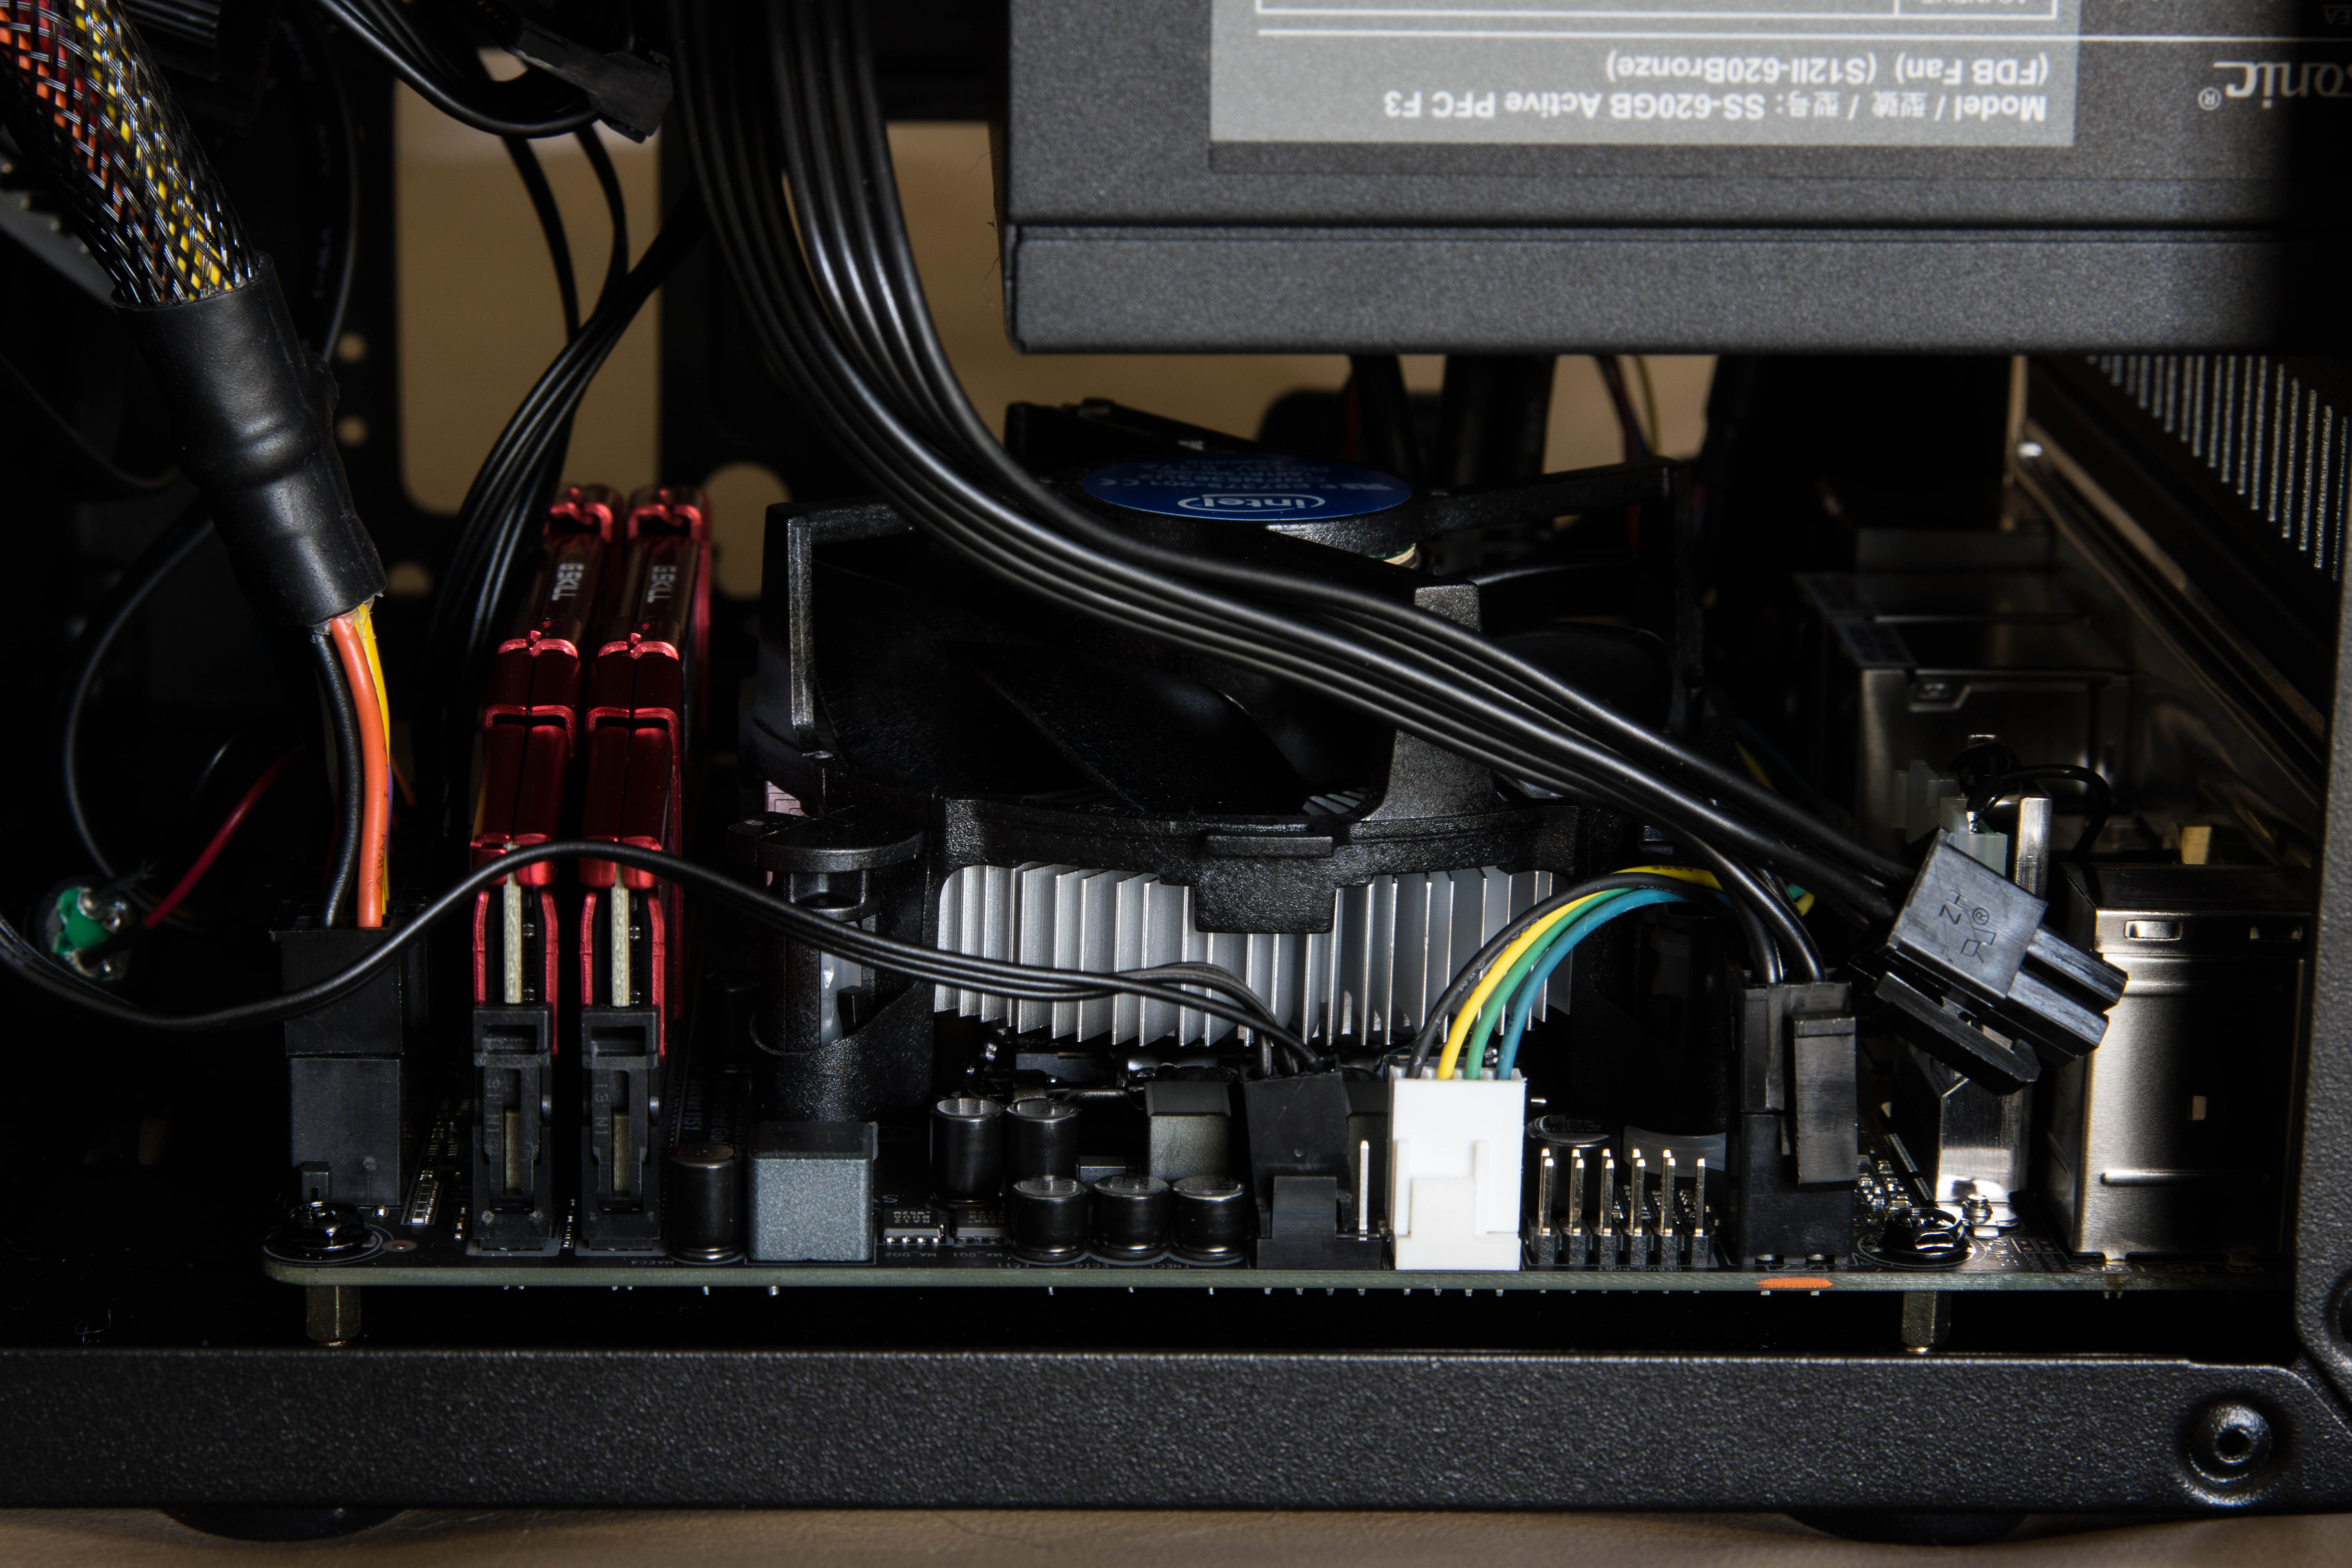
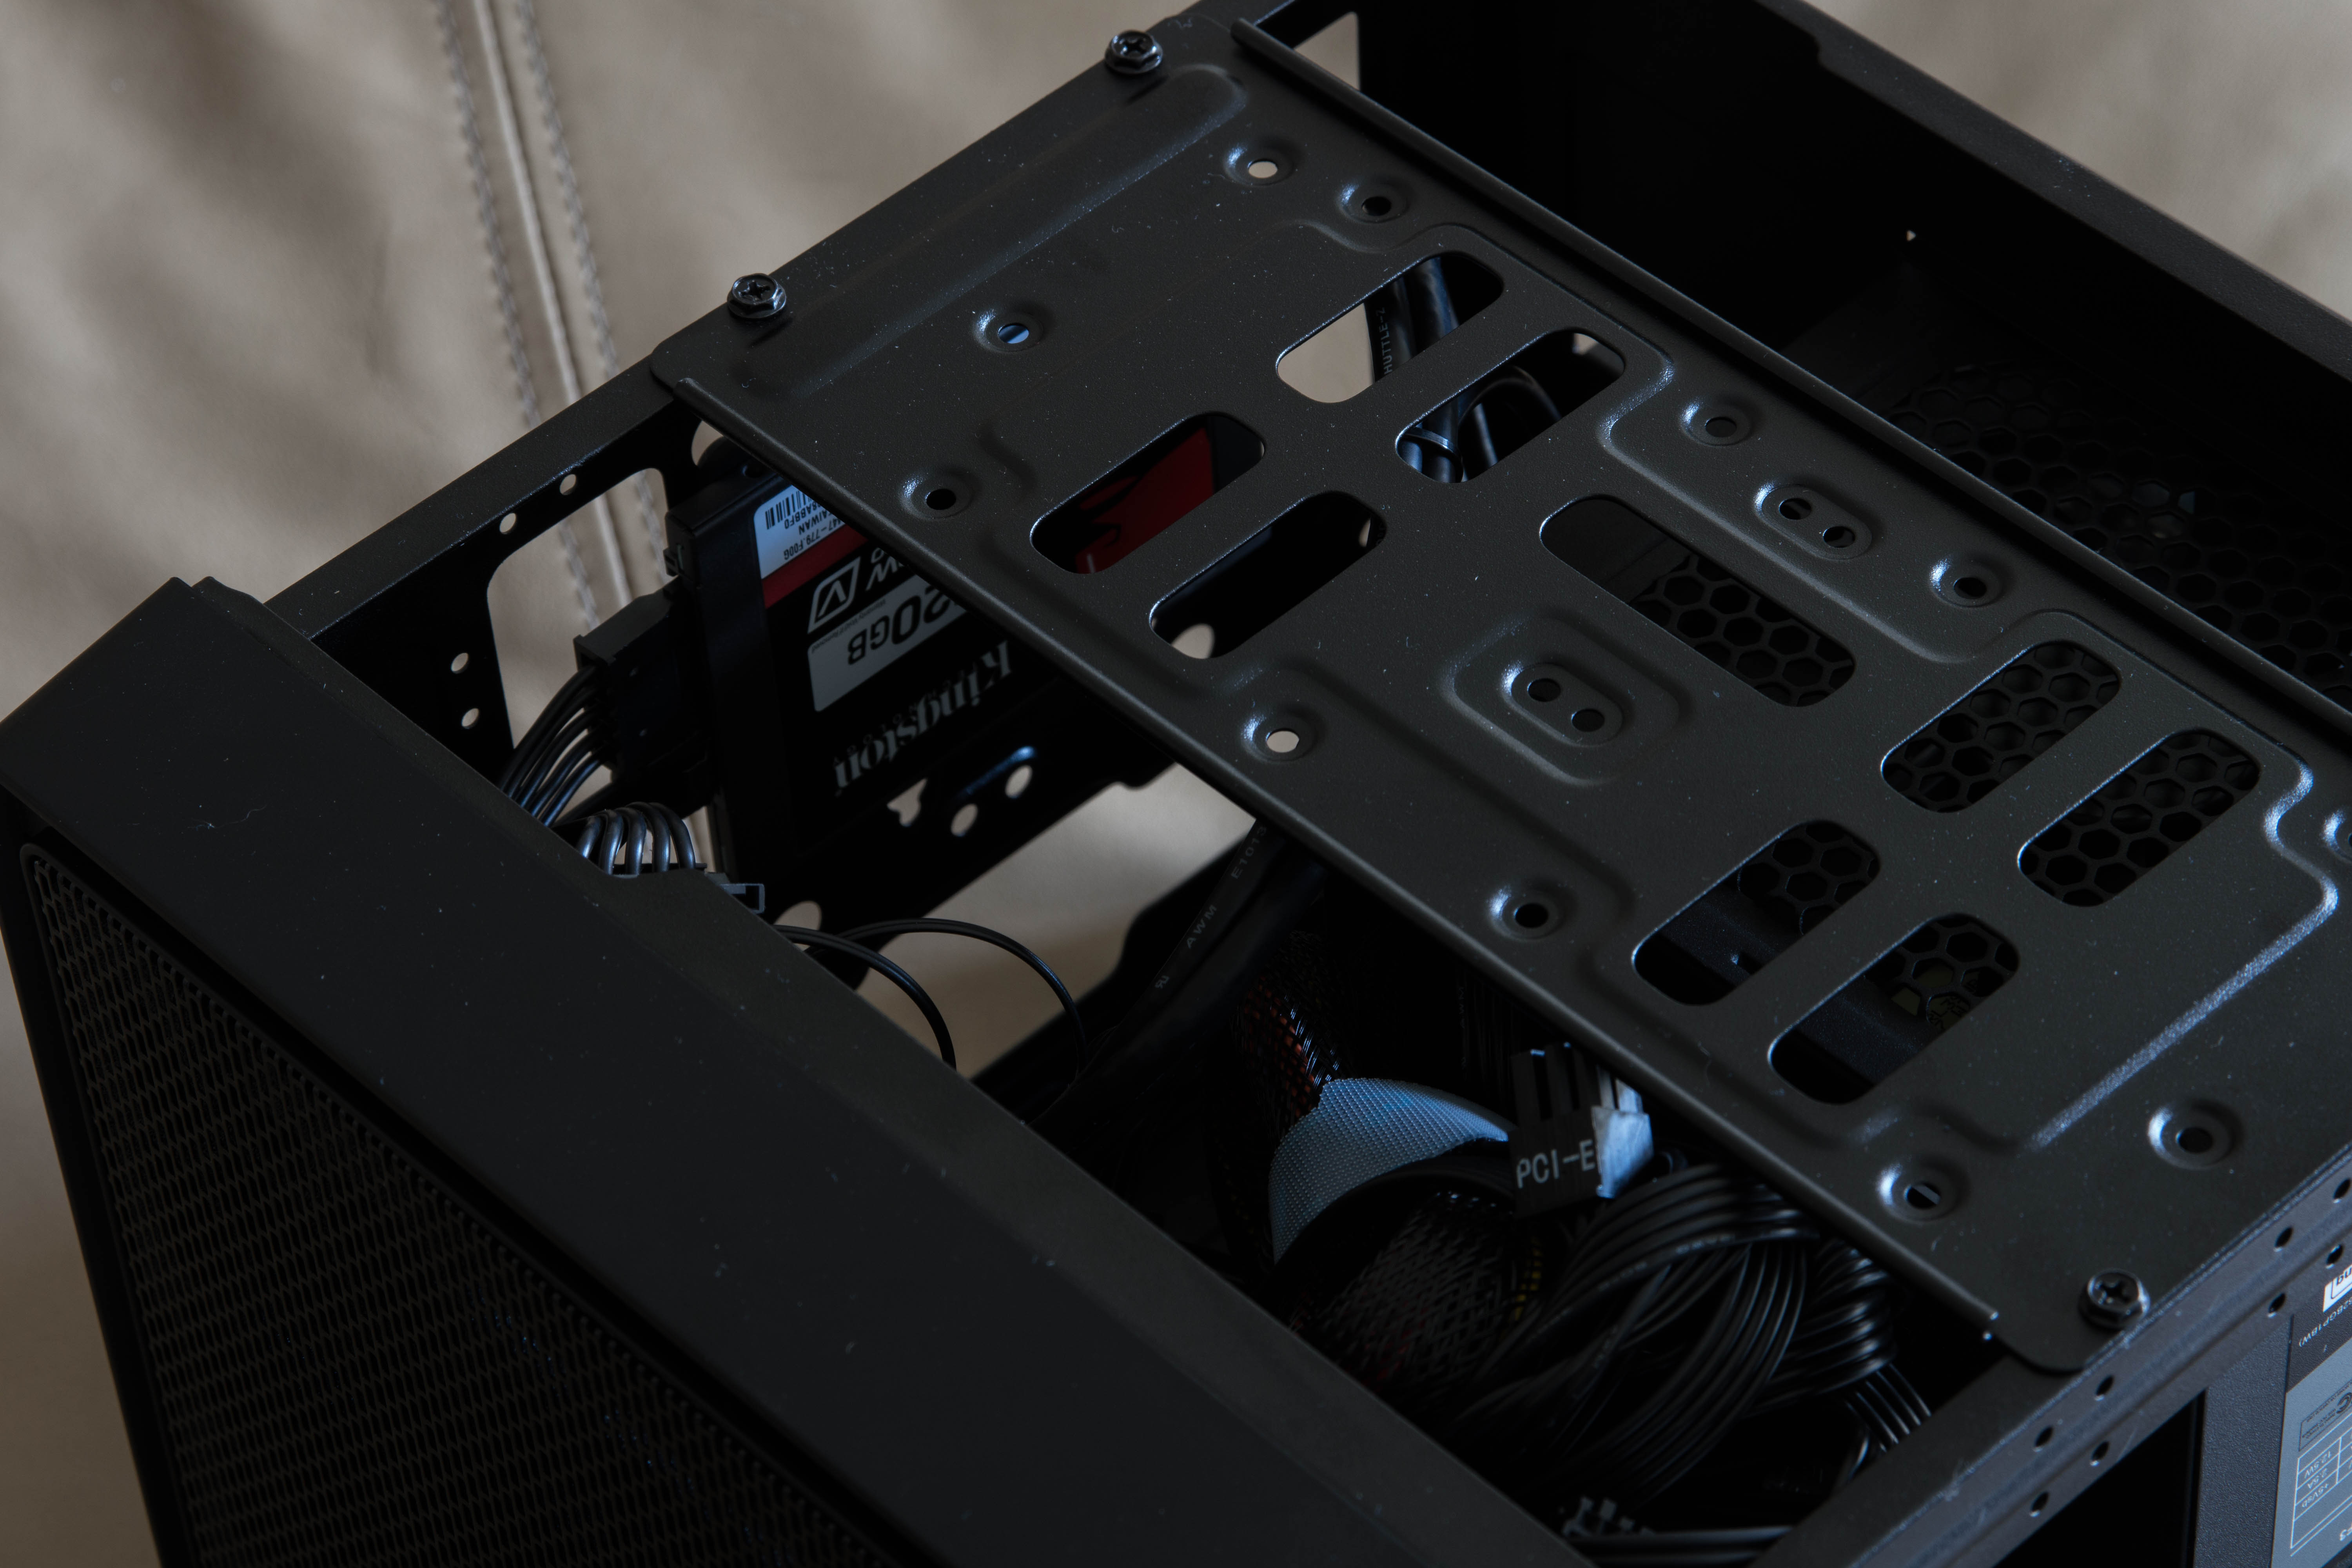
]]>I learned more about getting focus with my camera and used that knowledge to get these photos.
I feel that I have some sort of love for space which I have yet to release into the world.

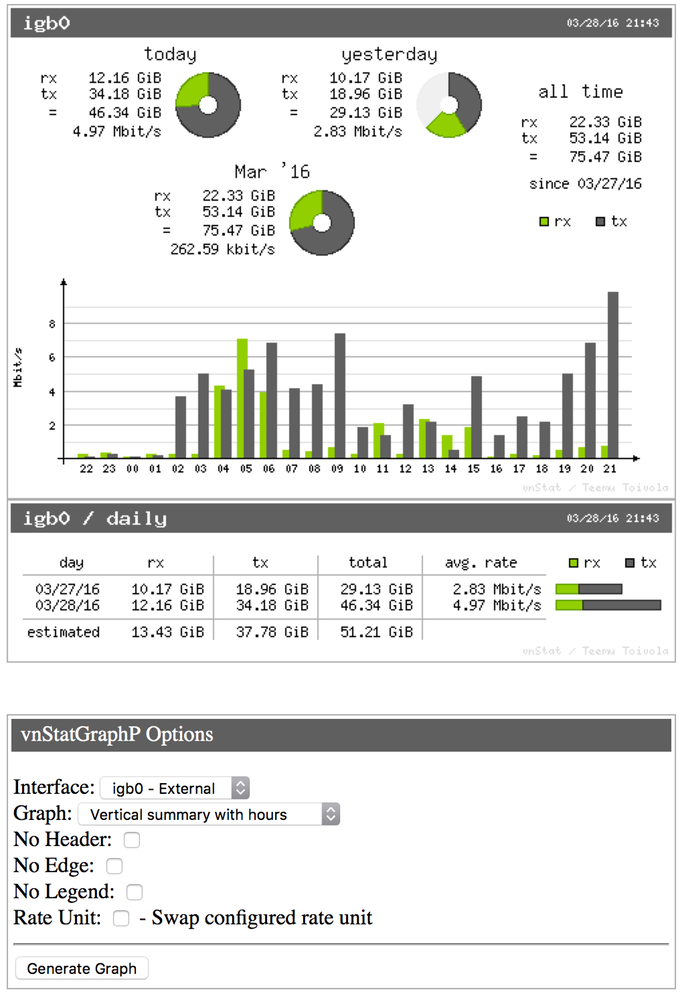
This is my new tool for viewing statistics from vnStat. I needed it with my new router, so I thought I'd open source my efforts.
The repository is at https://git.gec.im/GRMrGecko/vnStatGraphP
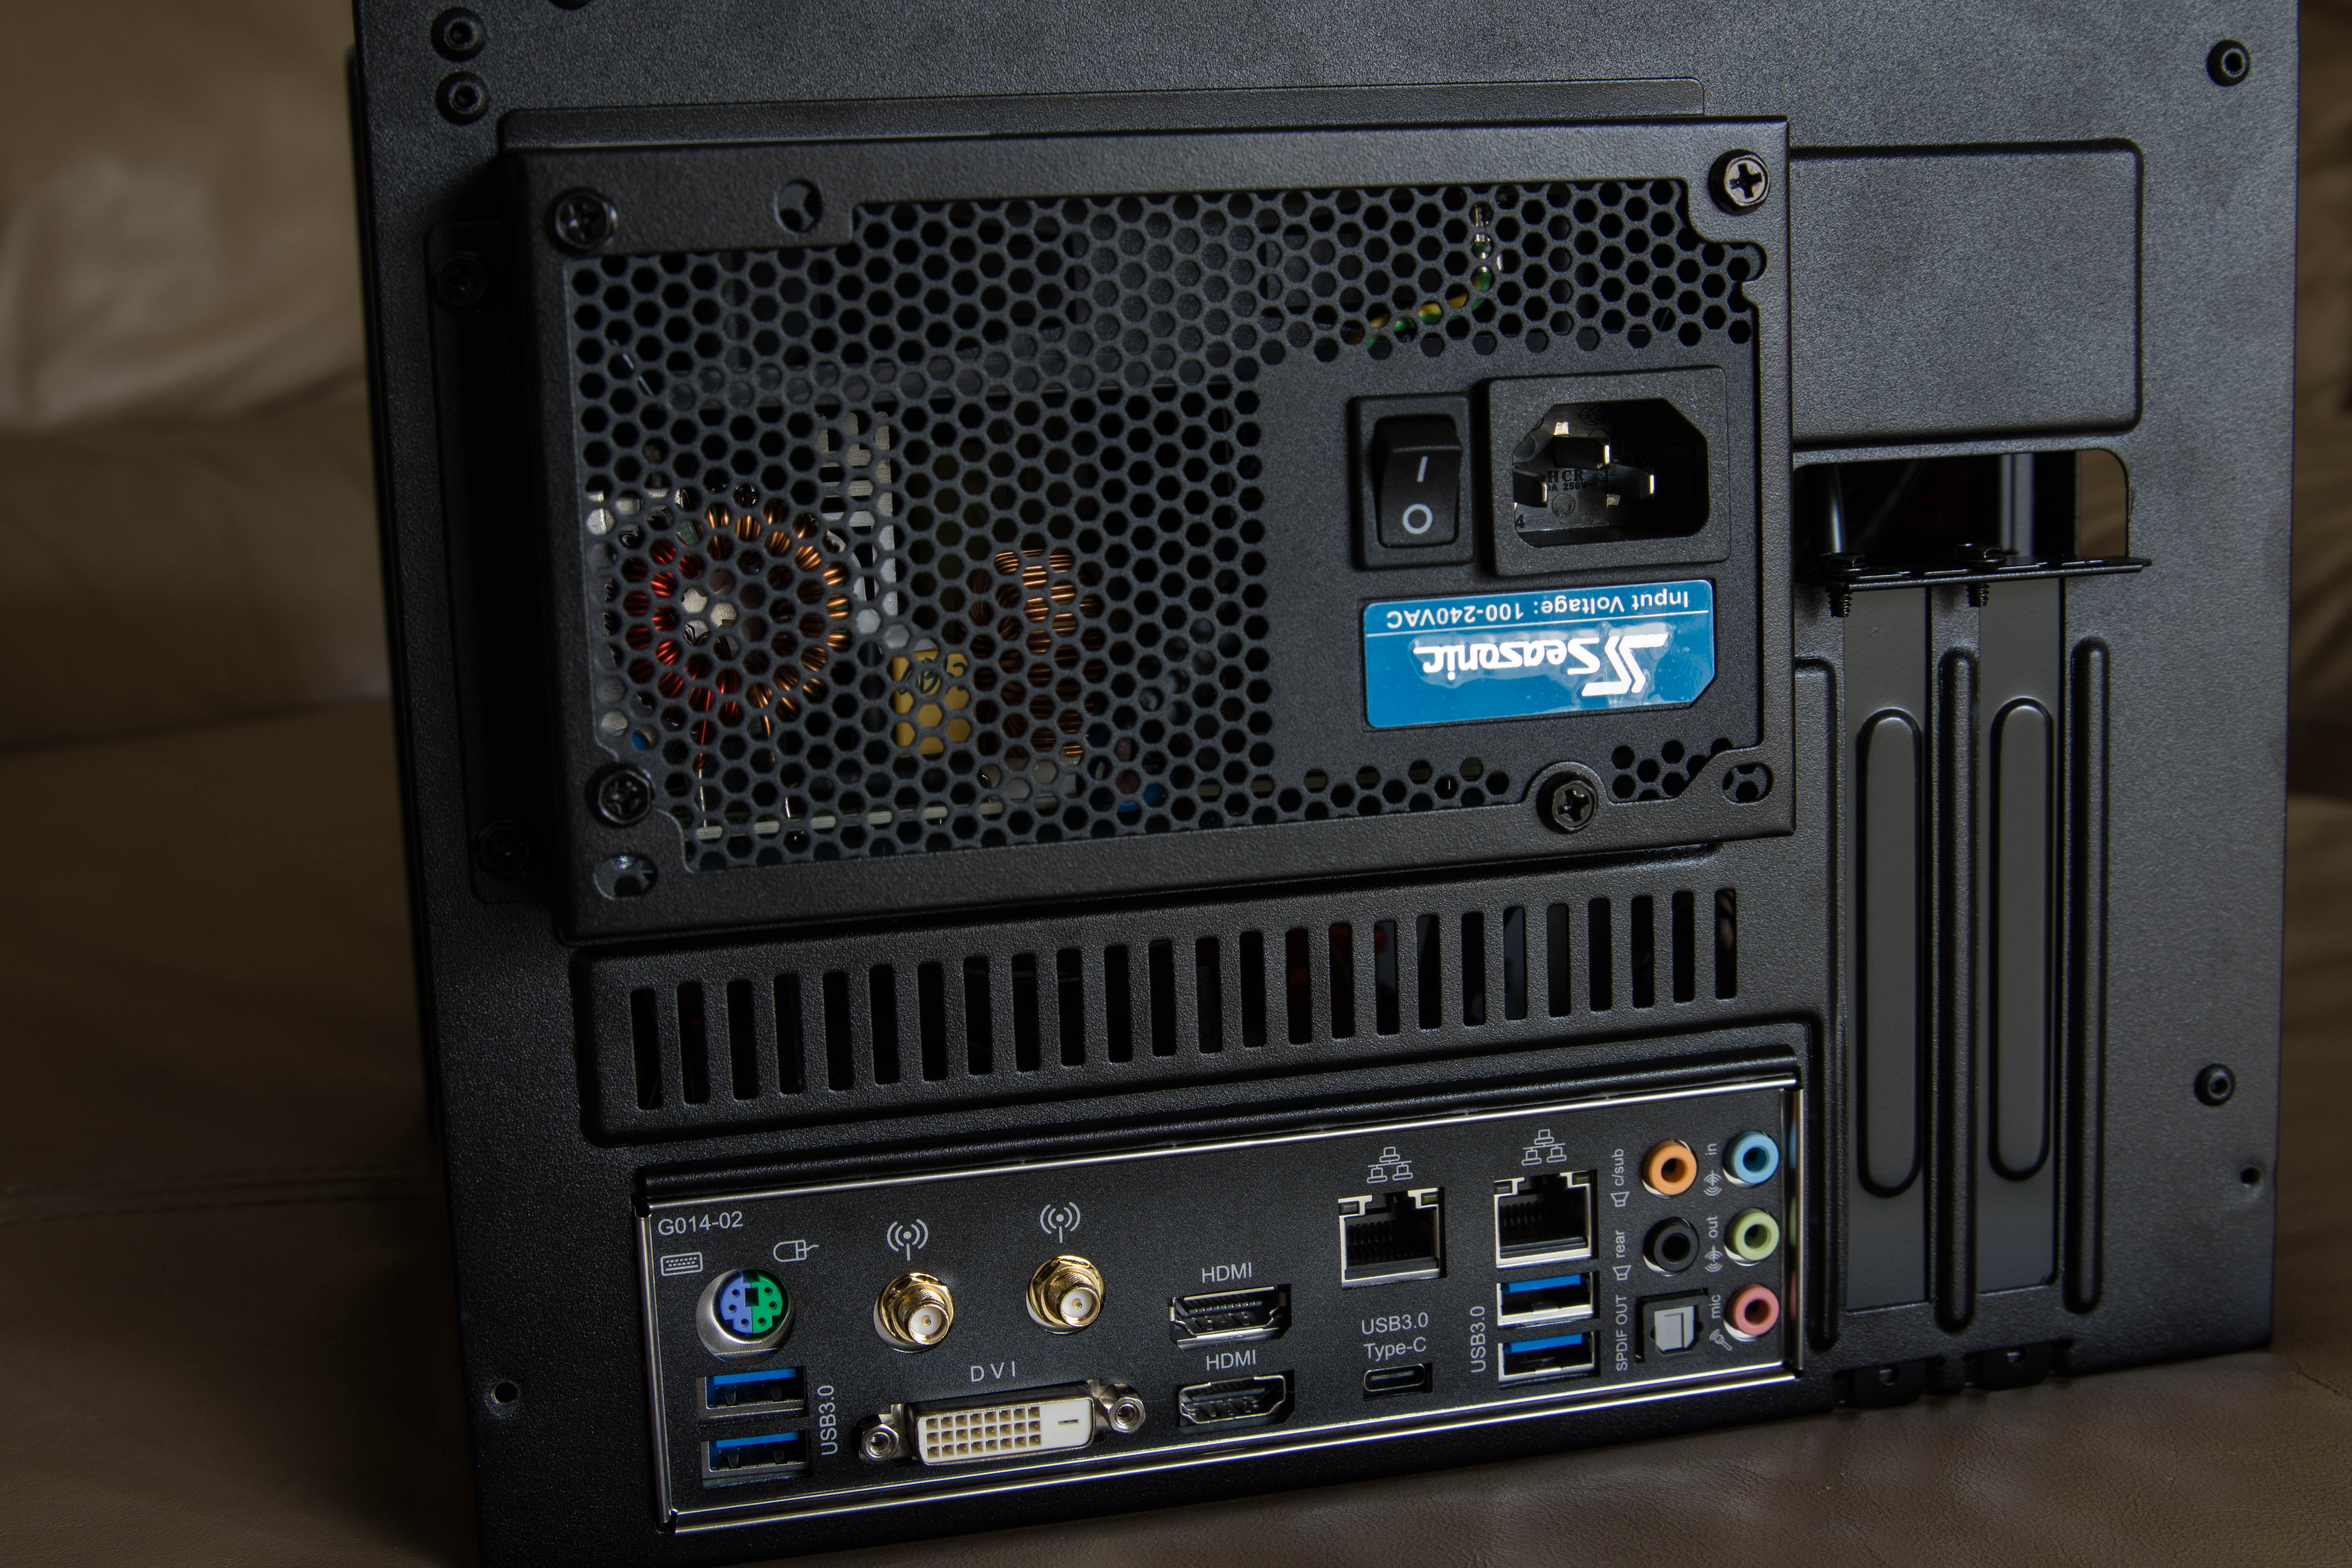
I just built a router which is overkill. I'm going to be using pfSense as the operating system and I'll have security utilities like Snort running on it to protect my network. The main idea for building this with the specs I went with is I can expand. If I wanted 1Gb/sec, it can handle it. If I wanted 10Gb/sec, I could upgrade with a 10Gb PCIe card. So when you look at specs of other routers being 128MB of storage, 128MB of ram, and 650MHz processors, just remember the main idea of it being overkill.
Specifications:
SSD: 120GB Ram: 16GB CPU: 3.2GHz Quad Core I5 Network: Dual Gb Ethernet on mother board WiFi: Dual Band 2.4/5GHz with AC support Bluetooth: 4.2
If you want a full list of parts that went into it, visit the following: https://secure.newegg.com/WishList/PublicWishDetail.aspx?WishListNumber=36984228
See lovely photos below which shows how awesome the machine looks.